
The arcade journal
Arcade Cabinet Parts: The Complete Builder's Checklist

Every arcade cabinet — scratch-built, kit, or upgraded Arcade1Up — is the same six systems wearing different wood. Use this checklist to spec a build completely before you cut anything, with links to the exact parts that cover each system. If you've been hunting arcade game parts piecemeal, work through the six systems below instead — it's the difference between a parts drawer and a finished machine.
The six systems
| System | What you need | Parts |
|---|---|---|
| 1. Controls | Joystick(s), buttons, and the analog controls your game list demands | Joysticks · buttons · spinners · trackballs · switchable restrictor |
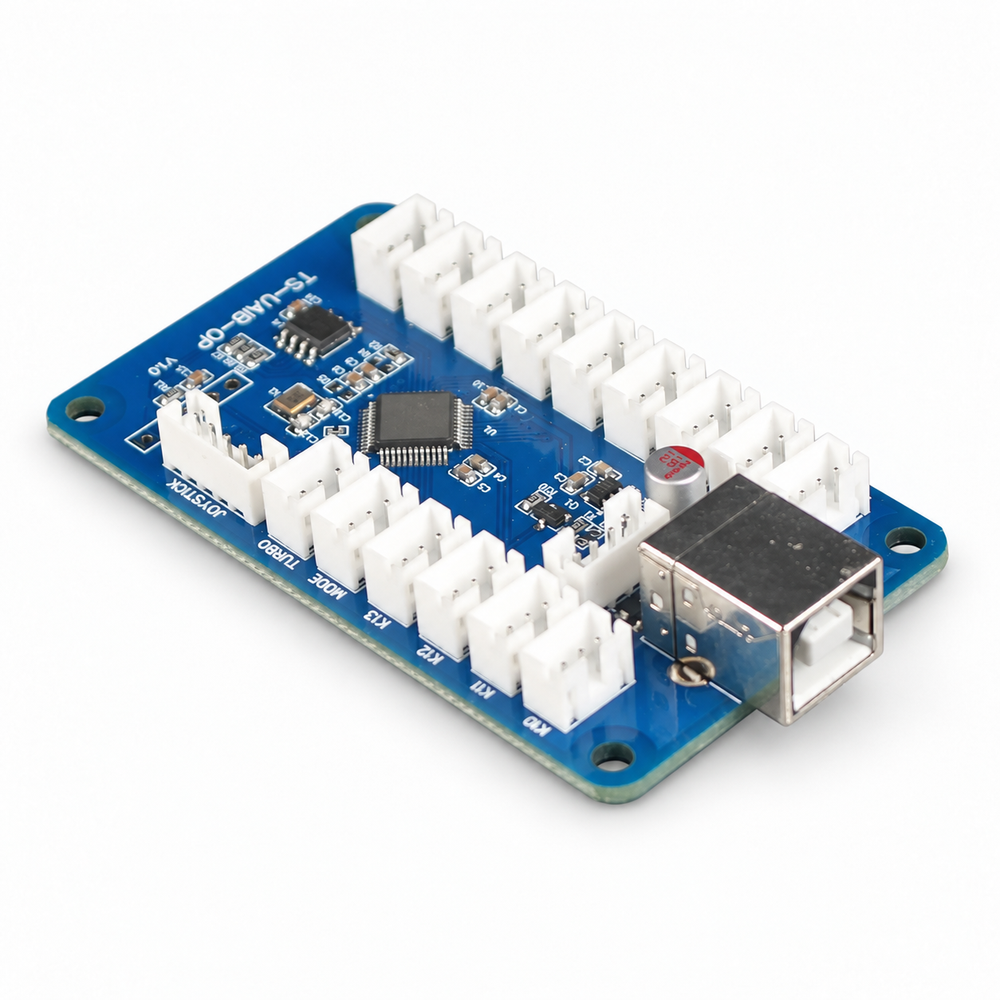
| 2. Interface | Encoder that turns switches into USB | Zero Delay V2 or Encoder Hub + harnesses |
| 3. Brains | Raspberry Pi or PC running MAME/RetroArch | Pi 4/5 works great; cabling like the Pi 4 HDMI extension keeps ports reachable |
| 4. Display & audio | Monitor in Game Mode + amplified speakers | For mini builds: BUILD-A-CADE screens & speakers |
| 5. Power | Clean supplies for boards and lighted controls | Power adapters |
| 6. Cabinet & trim | The box, panel, plexi and artwork | Scratch-build, or start from a BUILD-A-CADE kit |
Spec from the game list backwards
The one rule that prevents regret: write your top-20 game list first, then buy controls to match it. Tempest on the list means a spinner; Centipede or Golden Tee means a trackball; Ikari Warriors means the SNK-licensed rotary stick; Star Wars means the flight yoke. The full mapping lives in the MAME cabinet parts guide.
FAQ
Cheapest way to a great cabinet?
Upgrade an Arcade1Up — the wood, screen and license are done; you swap the controls that matter. Start at the Arcade1Up upgrade guide.
Where are wiring diagrams and manuals?
On each product page and in the Help Center.
Keep exploring
More for your next build.

The arcade journal
DIY Arcade Kits: Build Your Own Arcade Cabinet (2026 Guide)
You don't need a woodshop or an electronics background to build a real arcade machine anymore. Modern DIY kits pack...
Read the guide
The arcade journal
Arcade Flight Sticks: Buyer's Guide for Tron-Style Controls
An arcade flight stick is a tall, trigger-topped control built for games where you grip and sweep — Tron, tank...
Read the guide
The arcade journal
Arcade Trackballs: The Complete Buyer's & Setup Guide (2026)
An arcade trackball is a heavy ball riding on bearing rollers, read by optical encoders on two axes. It's the...
Read the guide